참고
Letsencrypt
Letsencrypt를 통해 무료로 공인인증서를 발급받아 설치해보자.
한번 발급시 최대 90일동안 유효한 공인인증서를 발급받게 되고, 따라서 최대 90일마다 인증서를 갱신해야한다.
Letsencrypt로 부터 공인인증서를 발급받으려면, 해당 domain이 자신의 것이라는 것을 증명해야하는데 여기에서는 shell (ex: ssh)을 이용하는 경우로 진행한다. (참고 링크)
Letsencrypt는 Certbot 이라는 ACME (Automated Certificate Management Environment) 규격을 지원하는 프로그램을 제공하여 인증서 발급과 설치를 자동으로 할 수 있도록 지원하고 있다.
FreeBSD는 python버전 certbot을 제공(https://certbot.eff.org/docs/install.html#operating-system-packages)하고 있고, ‘발급’만 자동으로 되고, ‘설치’ 자동은 지원하지 않고 있다.
FreeBSD certbot 설치
- Ports:
$ cd /usr/ports/security/py-certbot && make install clean - Package:
$ pkg install py27-certbot
Certbot이 지원하는 모드
plugin에 따라 여러가지가 있다. (참고 링크)
Standalone: Certbot이 자체적으로 web-server가 되어 해당 domain 의 주인임을 입증하고 인증서를 발급한다. 80, 443 port를 이용하므로 기존 운영중인 web server가 있다면 잠시 중단시켜야한다.
Webroot: 운영중인 web server root directory에 쓰기 확인으로 domain 주인임을 입증하고, 인증서를 발급한다. 기존 운영중인 web server를 중단할 필요가 없다.
Apache: Apache Web server인 경우 자동으로 발급 & 설치까지 해준다.
Nginx: Nginx Web server인 경우 자동으로 발급 & 설치까지 해준다.
Manual: Certbot을 구동하는 서버와 운영중인 web server가 다를 경우 활용
- 현재 FreeBSD 용으로는 ‘standalone‘ 만 지원함 (standalone은 해당 프로그램이 80, 443 port를 listen하는 자체 서버로 동작, 즉 기존에 운영중인 웹서버가 있으면 임시 정지를 시켜야함)
This port installs the "standalone" Python client only, which does not use and
is not the certbot-auto bootstrap/wrapper script.To obtain certificates, use the 'certonly' command as follows:# sudo certbot certonly --standalone -d [server FQDN]Note: The client currently requires the ability to bind on TCP port 80. If
you have a server running on this port, it will need to be temporarily stopped
so that the standalone server can listen on that port to complete
authentication.The certbot plugins to support apache and nginx certificate installation
will be made available soon in the following ports:* Apache plugin: security/py-certbot-apache
* Nginx plugin: security/py-certbot-nginx- FreeBSD용으로 아직 py-certbot-apache, py-certbot-nginx는 제공되지 않고 있다. (2017년 7월 28일 현재)
Certbot help 보기
- Help 보기:
$ certbot --help혹은$ certbot -h - 자세히 Help 보기:
$certbot --help <command>
ex: $certbot --help certonly
Web Server (Nginx) 중단하기
$sudo service nginx stop
Standalone 모드로 인증서 발급하기
$sudo certbot certonly --standalone -d <domain_name1> -d <domain_name2> ...
/usr/local/etc/letsencrypt
|- archive
| |- hangadac.com
| |- cert1.pem : 해당 도메인만의(여기에서는 hangadac.com) 인증서
| |- chain1.pem: CA들의 인증서 체인
| |- fullchain1.pem: 해당 도메인과 CA들의 인증서 체인
| |- privatekey1.pem : 개인키. 보안에 유의 (ex: chmod 600 privatekey1.pem)
|- live
| |- hangadac.com
| |- cert.pem: archive/hangadac.com/cert1.pem 의 link 이다.
| |- chain.pem
| |- fullchain.pem
| |- privatekey.pem
인증서 확인하기
$sudo certbot certificates

인증서 설정하기 (Nginx)
$ ln -s /usr/local/etc/letsencrypt/live/hangadac.com/fullchain.pem /etc/ssl/hangadac.com.pem
$ ln -s /usr/local/etc/letsencrypt/live/hangadac.com/privkey.pem /etc/ssl/hangadac.com.key
$ chmod 600 /etc/ssl/hangadac.com.key
$ vim /usr/local/etc/nginx/conf.d/sites-available/hangadac.com.443.conf
server {
listen 443 ssl;
server_name hangadac.com;
ssl on;
ssl_certificate /etc/ssl/hangadac.com.pem;
ssl_certificate_key /etc/ssl/hangadac.com.key;
ssl_protocols TLSv1.2 TLSv1.3;
...
...
}
Web Server에서 80 port를 443으로 redirect 하기
$ vim /usr/local/etc/nginx/conf.d/sites-available/hangadac.com.80.conf
server {
listen 80 default_server;
server_name hangadac.com;
return 301 https://$host$request_uri;
}
Web Server (Nginx) 구동하기
$ sudo service nginx start
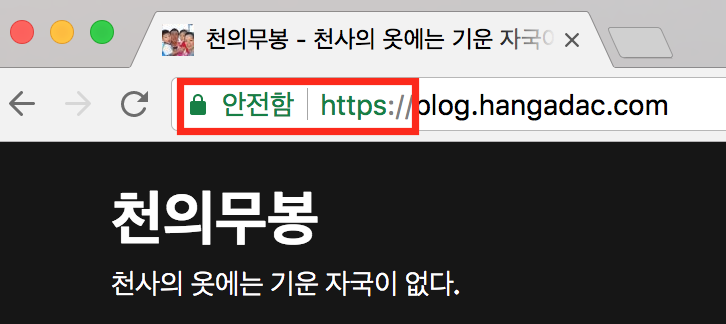
인증서 동작 확인하기

인증서 갱신하기
인증서 갱신 명령 ($certbot renew)은 자동으로 만료일을 확인하여 만료일 30일 이전에만 실제 갱신이 이뤄지고 그렇지 않으면 변경이 이루어지지 않는다.
만료일 이전에 갱신요청을 한다고해도 아무 문제나 불이익이 있는 것은 아니니 1달에 한번 정도로 cron 등록을 해서 갱신요청을 하면 된다. (cron에서 매 89일마다… 라는 주기작업 설정이 가능하면 되겠지만 그런 기능은 없다.)
인증서 갱신 테스트하기
$ certbot renew --dry-run
인증서 갱신 cron으로 등록하기
$ sudo crontab -e
# 매월 1일과 15일, 3시와 6시에 cron 작업
0 3,6 1,15 * * /usr/local/bin/certbot renew --pre-hook "service nginx stop" --post-hook "service nginx start"
참고: $ man 5 crontab
안전도 확인하기
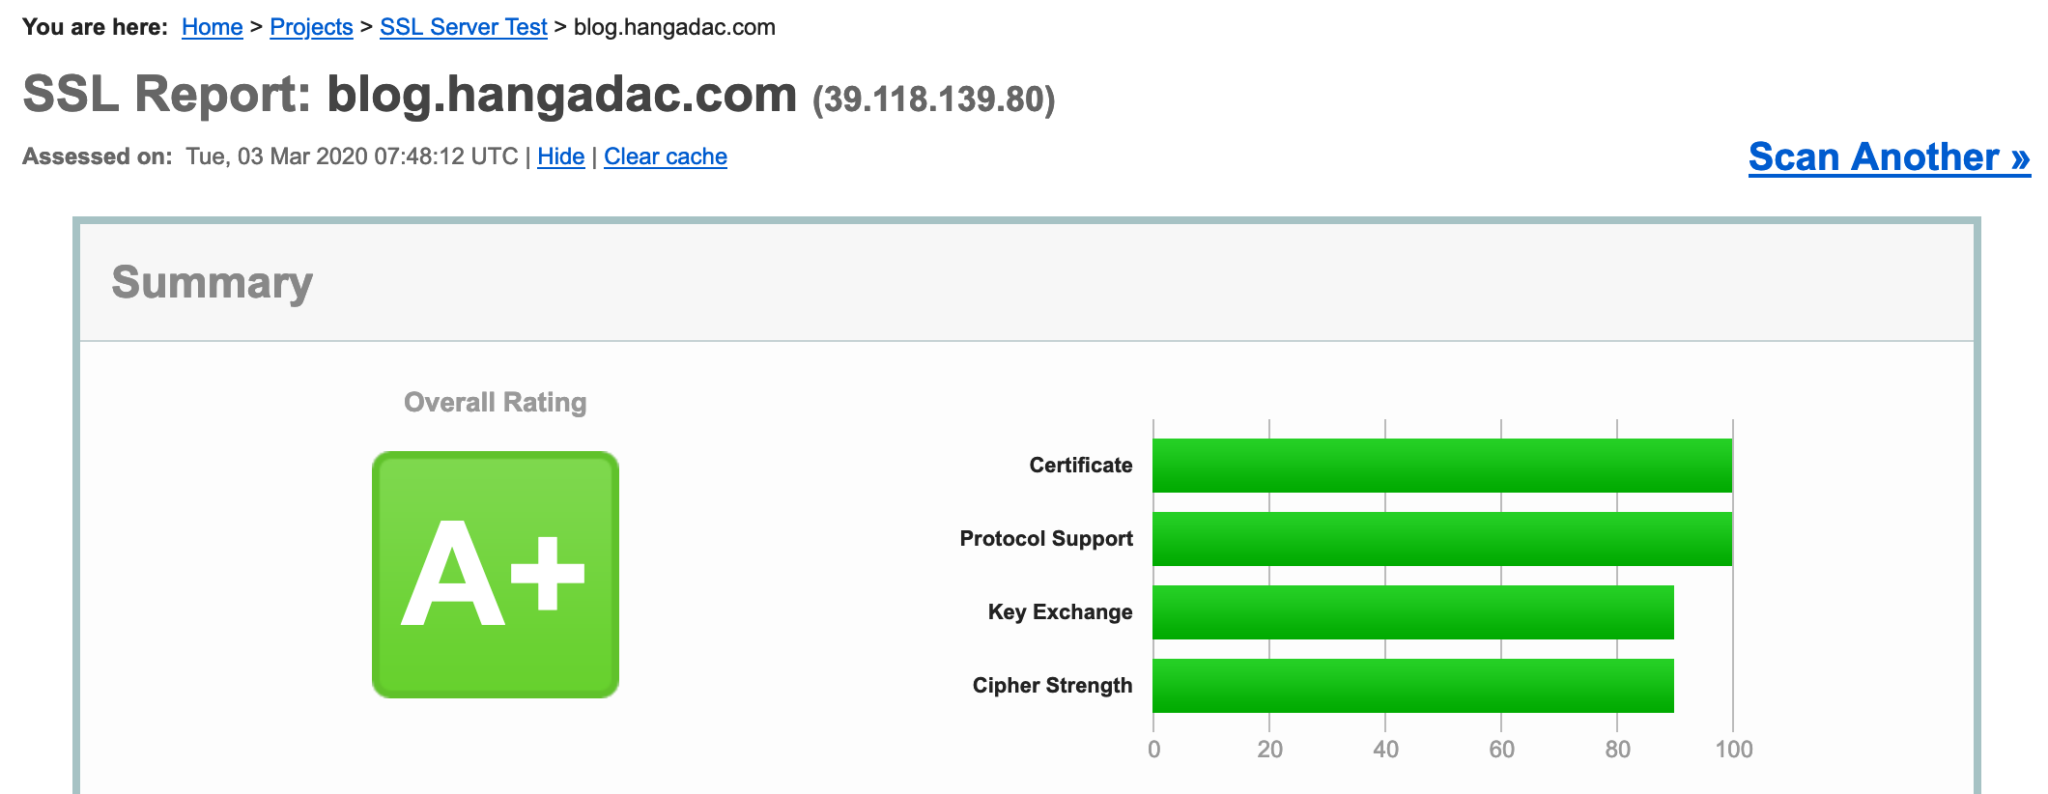
https://www.ssllabs.com/ssltest/ 에서 보안 안전도를 점검해볼 수 있다.
이곳 http://blog.hangadac.com 을 테스트 해보면…

🙂
이로써 Letencrypt를 통한 공인 인증서 발급으로 당당히(?) 서버 인증으로 안전한 https 통신을 할 수 있게 되었다.


안녕하세요 다름이 아니라..
인증서 관련 발급으로 찾아보게 되었습니다.
인터넷이 되지않는 환경에서도 인증 키가 유효한지도 확인이되나요 ??
제가 질문을 정확히 이해한 것인지 모르겠는데,
예를 들어 인터넷이 끊겨있는 상황에서도 인증키 유효성 확인이 가능하냐는 질문으로 이해하겠습니다.
인증 정보가 암호화되어 들어있고, CA의 public key를 브라우저 등에서 갖고 있으니 유효성 확인이 가능할 것 같습니다.